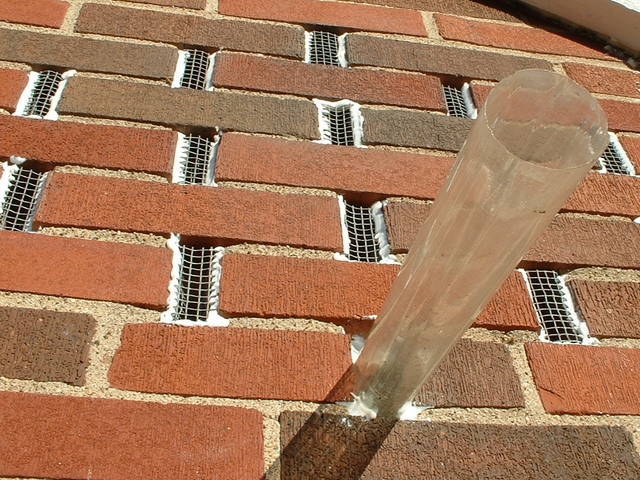
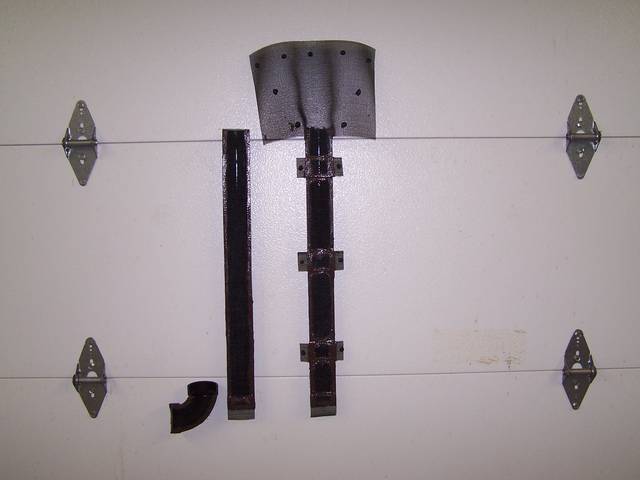
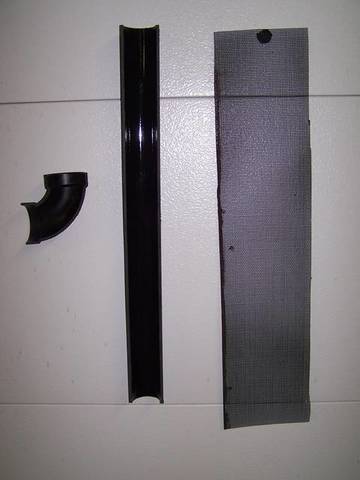
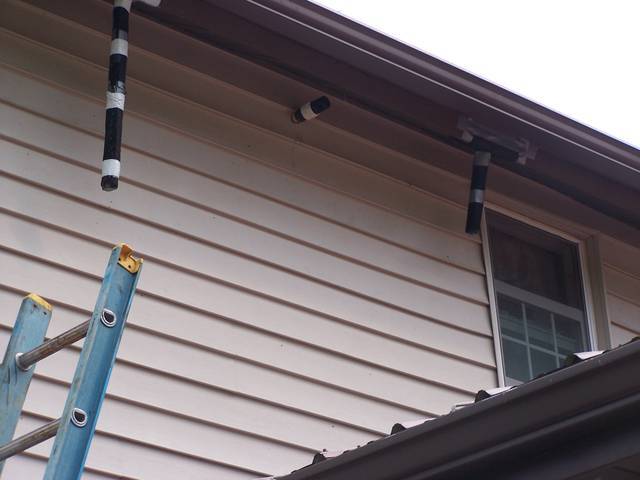
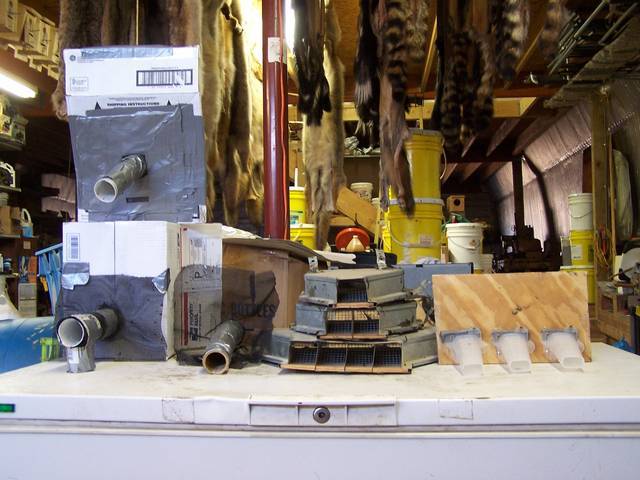
Take this for what it is worth but this here is what I consider my signature style bat valve. Simple, cheap and effective. I once had a tech in training take one look at my materials and make the comment that if the customer realized the cost of materials versus the cost of the exclusion I would get shot. Try as I mught I never could get that idiot to understand that what the client was paying for was not some duct tape and plastic but what skilled hands could do with it. So without further ado here is my plastic and duct tape special.
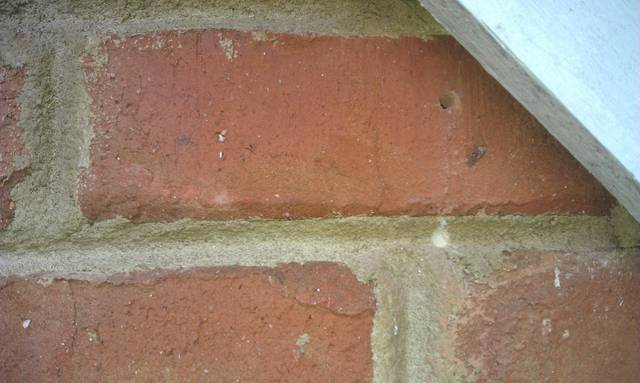
This is the gable end entry point.
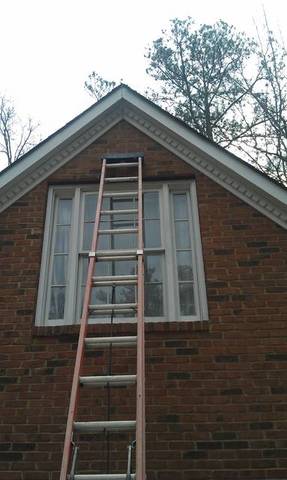
Here is the actual gap where the frieze board has seperated from the brick. Special Note; be very careful when working at the very top of a stack of brick like this. The brick is just stacked and tucked under the frieze board and portland cement must be in short supply as I don't think they add it to mortar anymore. Just pushing on the brick at this point can break the mortar joint and your left with loose brick. I've even had it break loose from the weight of the ladder alone so be very careful.
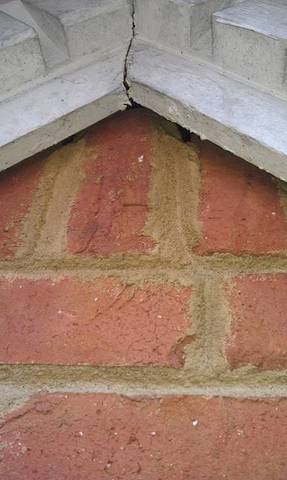
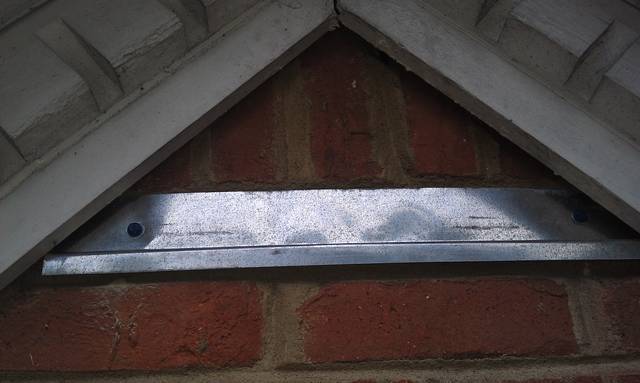
Okay, you are going to need a short length of flashing and some tapcon screws.
This is my own special twist as I was originally taught to use some sort of adhesive and liquid nails and brick makes a mess. I needed a way to stick duct tape and hit on the idea of tape and flashing. I have used a lath strip in the same way and used staples to hold my valve.
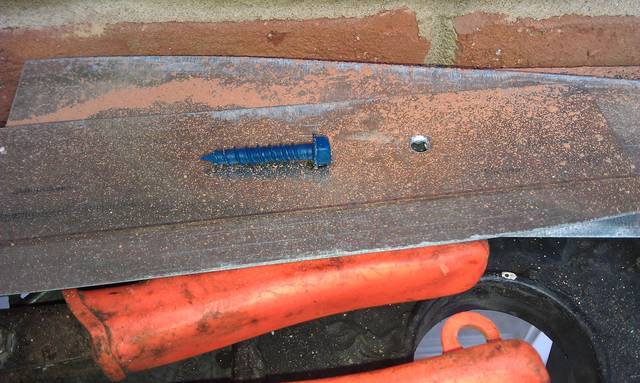
BTW, you also need a hammer drill to drill the holes.
Here is what you want when your done. I like the z-flashing as the bend holds the valve out ever so slightly.
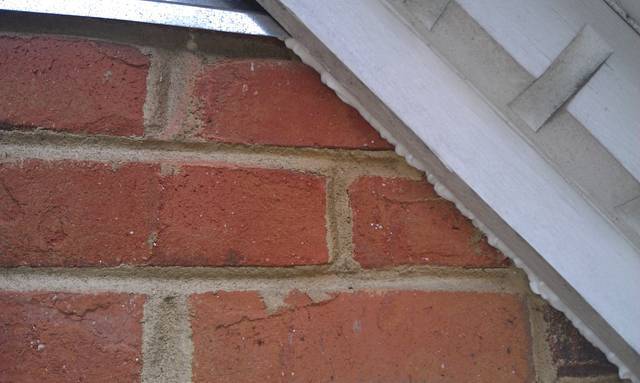
Now start sealing the gap at the frieze board with a good grade of caulk. Be sure to get right up to the flashing.
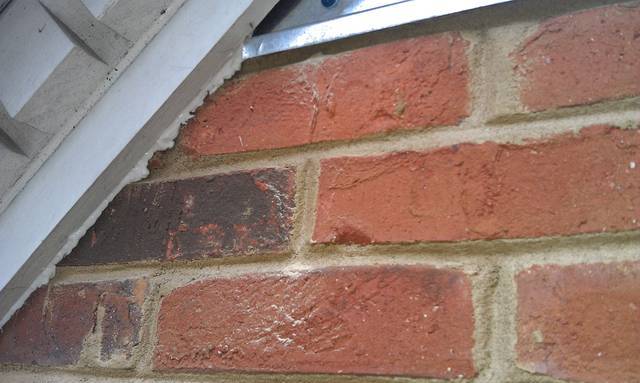
Both sides.
Now cut you off a length of plastic 3mil or better three times wider than the flashing and long enough to hang 8-10 inches below the flashing. Using a good duct tape, gorilla or equivilant, tape the center to the flashing leaving a third to each side.
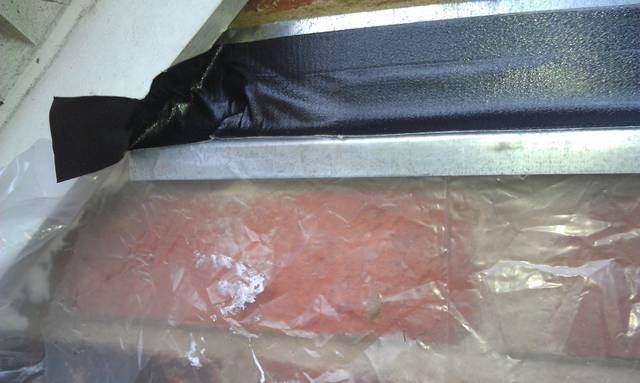
Be sure to get the plastic and tape up on the frieze board. Just as in the caulking the corners here are the weak points, if you leave a gap the bats will find it.
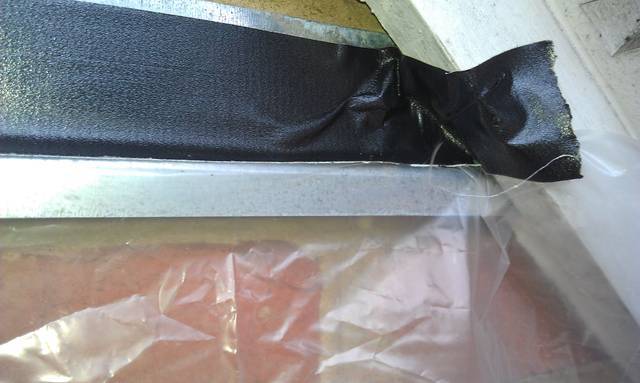
Now take one side and fold it up to the peak and tack in place with a staple, trim any excess. Repeat with the other side.
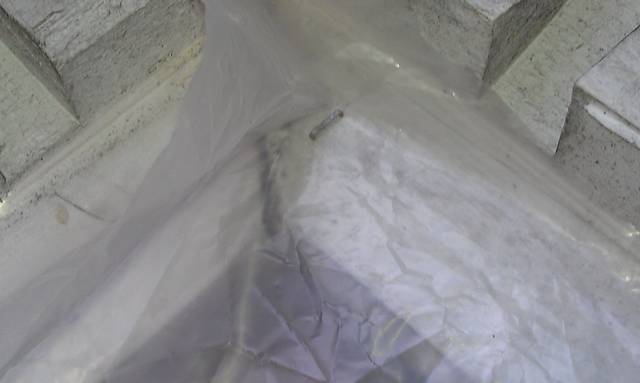
And here is what you end up with, an inverted cone with a double layer front. Reinforce the top of the valve with strips of tape as a gusset and staple through the tape to secure it. Space the staples and press down so as not to leave any gap at all.
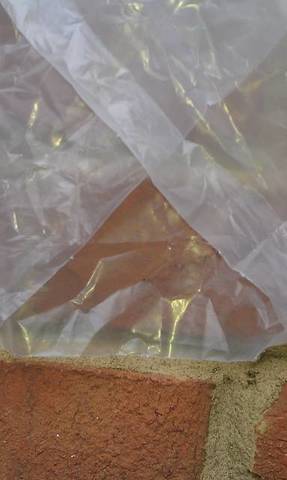
A couple checks I always do. First make sure there are no obstructions inside the valve by sliding my hand up through it. I want the bats to transition out as quickly as possible.
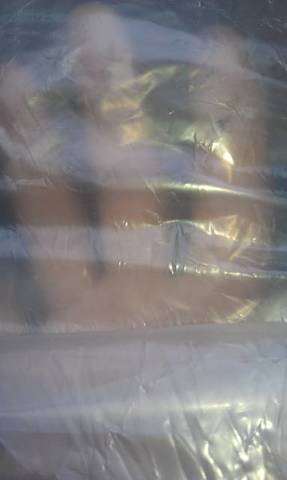
Next I lift the valve to double check that I did not leave any gaps underneath. If this type of valve is defeated, barring inclement weather, it will be from below. Don't be surprised upon your return to have to flush some bats from this area as they will cluster under the valve for a few days.
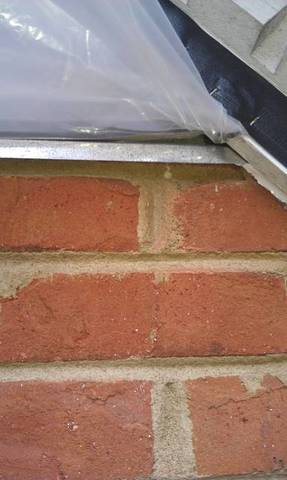
Again, both sides. I'm very thourough on my valves as I really really hate having to things twice.
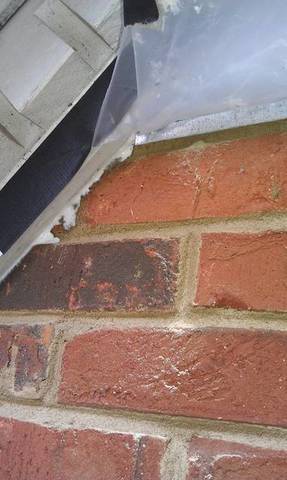
And viola the finished bat valve.
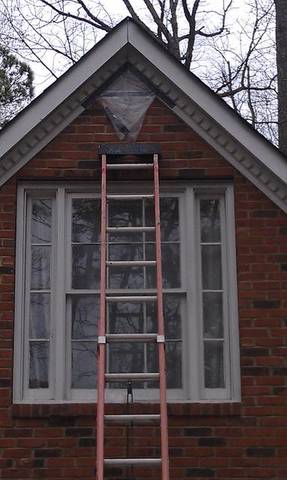
This basic valve accounts for the bulk of what I use. I just adapt it to the structure in question. If wood, omit the flashing and staple directly. As I said a lath strip can be used, they can be made as big or small as needed depending on the entry and number of bats. I did one last season that was twelve foot wide to cover multiple entries in lap siding.
Now I've shown you mine, show me yours.


![[Linked Image]](8a3gq5-1.jpg)
