After reading many posts about conibear boxes I thought I'd design my own. My goal on these boxes was to make them light. Each one is 4.5 pounds. I also wanted something that wouldn't take up space, hence the hinged sides. I also wanted something a dog would likely keep out of so I recessed the trap and added an overhang. Here are a few pictures of what I did and a brief description of each. Any comments are welcome.

This is a view of the left side with the box set up.

Right side.

Back.

This is the box collapsed down for easier transport. I figure I can fit 3 in my packbasket verses 1 or 2 regular boxes. I'll probably try to get a different hinge for the back so it will collapse in further and not stick out like it is. The plywood is 3/8" CDX. If I was going to build them again I'd buy 1/2" plywood but I could get 3/8" free. Thinner wood means less weight for me to carry.

But it also meant I had to cut the screws on the hinges shorter so they didn't poke through. I added construction adhesive to help glue the hinges on.

You'll notice on this picture the edges are beveled 45 degrees. It was the only way I could figure out how to allow the sides to move past each other without hitting.

Now I'll explain how to make a set with one. Step one, unfold box and put stakealizer through 5/8" hole drilled in bottom. I figure it would be easier to drive a pilot hole with a steak before setting the box in place. By using a stake setup like this you don't have to try to wire the trap in the box. Also I recommend putting the trap ring on the stake under the box.

You'll notice here I drilled a 1 1/8" hole near the back to put a pop bottle cap in. The cap wedges in place, no need for glue. I trimmed the extra plastic off, now it's ready to hold lure. If the cap gets full of dirt I'll just drive out the old one and put a new one in.

Next step is to fold up the right side of the box and latch the back door.

Here I've slid the trap in the slots and set it in place. The trap is a Duke 160 conibear.

One thing I did was bevel the edges of the slots on the inside to help fit the trap better. I wanted to make the opening on the front as small as possible to limit dogs. Next time I build one I'll make the slots a little wider, and the inside dimensions of the box a little smaller.

This is a side view of the trap in place. The box sides are 15 1/4" long, the top is 18 1/4" long. the trap trigger wires are about 7" from the front edge of the sides. I made the slots for the trap long enough that the trap won't hit the back of the slot and lose power.

With the back door hinged you can add fresh bait of lure without having to worry about setting the trap off.

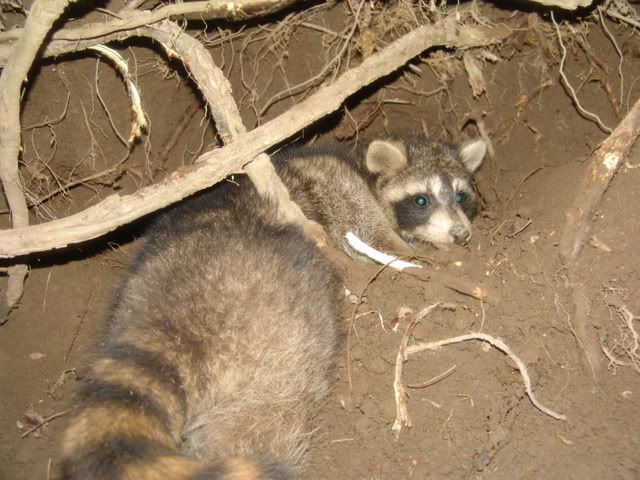
Here's what the coon's view is, minus a marshmallow or two.

The 2 2x12's cut like that help with assembly. I need to add a couple notches so I can clamp the pieces in place as I put the hinges on.I'll also paint the box to protect it from water. Hopefully this is helpful to you guys.


 Possums and fanged beaver Skeer Me


