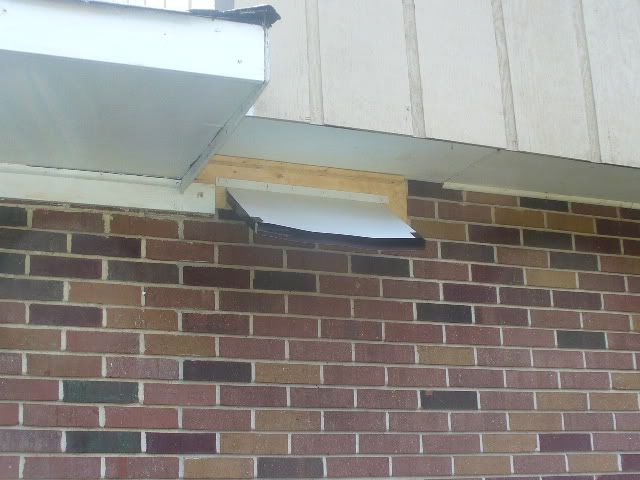
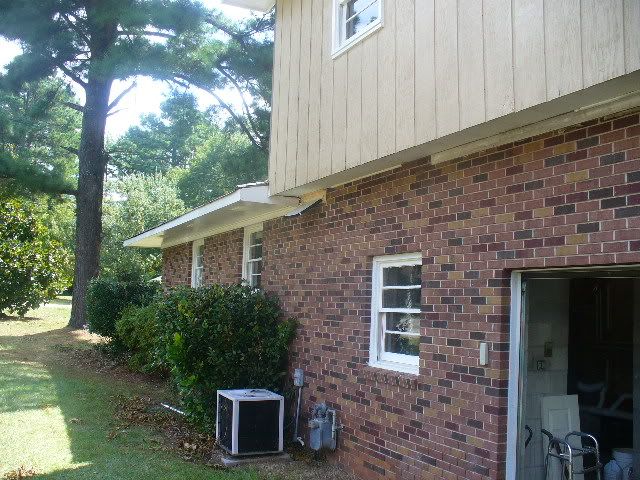
Okay, I've gotten several requests for just how I do a metal excluder out of coil stock so I snapped some pics of one I did today. Now be advised this was a simple one but this can be adapted or better yet have several aces up your sleeve. This don't work on every situation but I use it for most in some variation.
Okay, here's the entry. If only they could be so easy. The bats, freetails, are between the brick veneer and the cinder block basement wall. Number unknown.
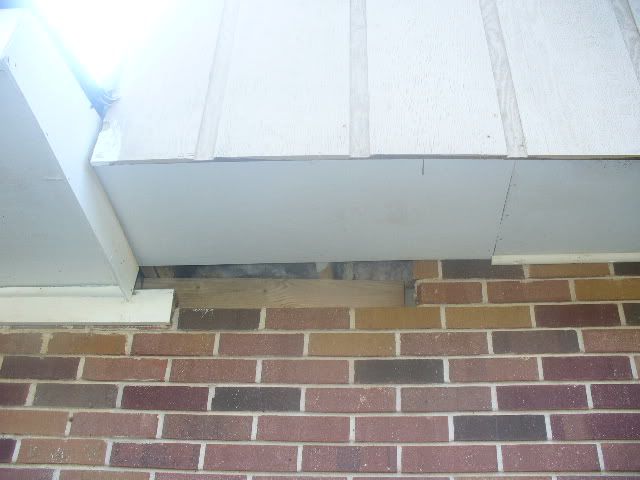
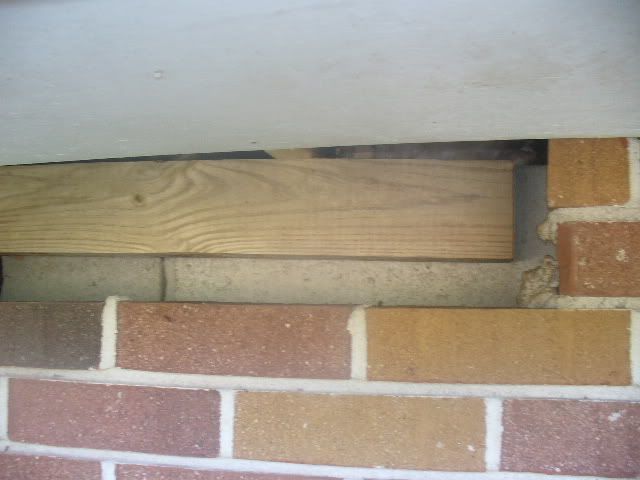
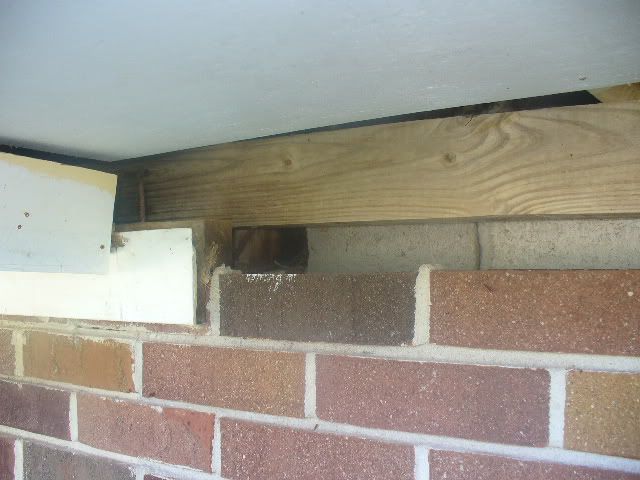
Okay, even better I can back the truck right up to it and work off the tailgate and the only ladder needed is my stepladder.
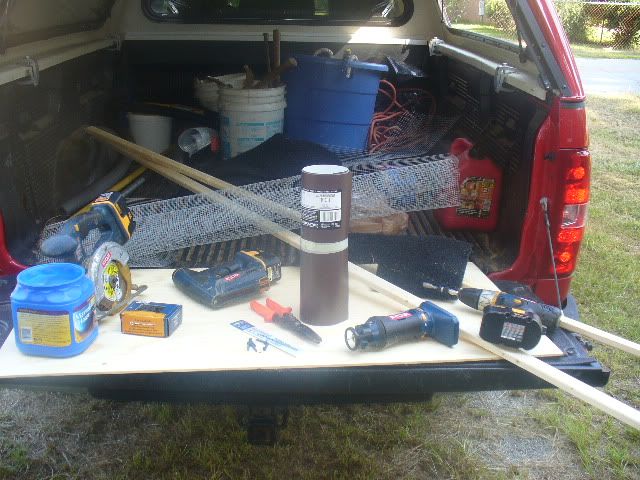
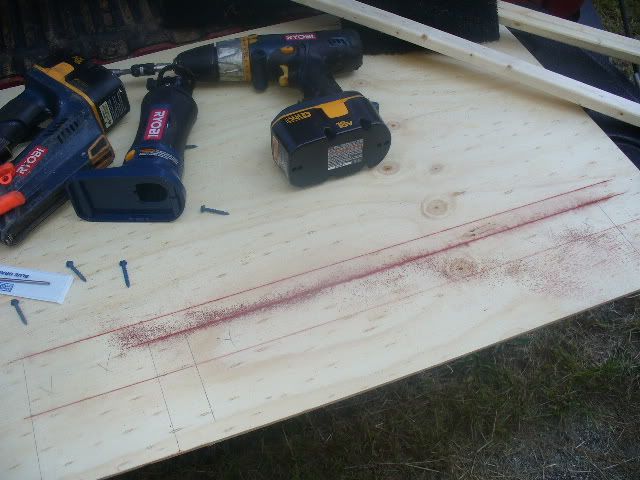
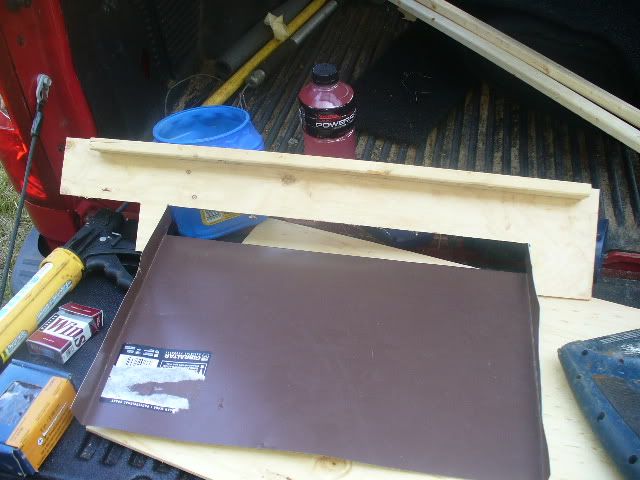
Okay, what you see is a 2'x4' sheet of 1/4" ply, a couple pieces of lath strip, circular saw, staple gun, zip saw, drill, various screws, various hand tools, and a roll of coil stock. This stuff.
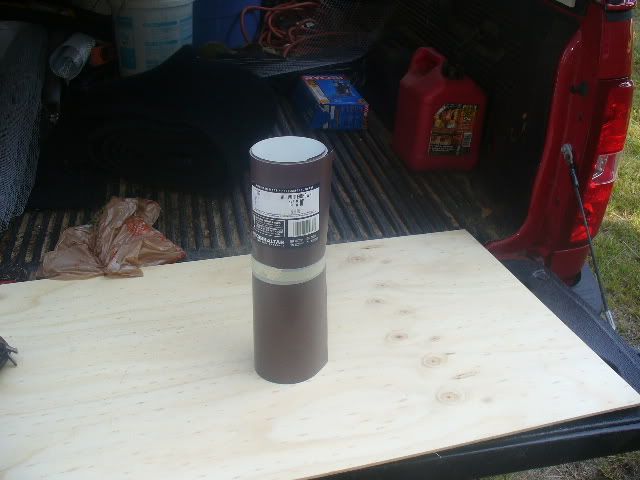
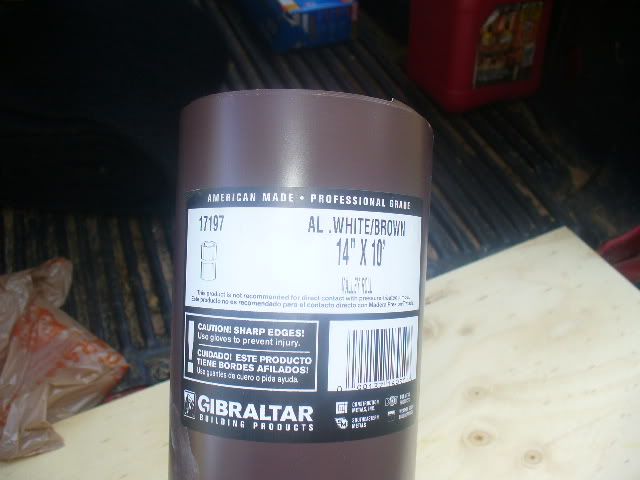
Okay, I got some measurements and have laid out my cuts on the plywood.
And I end up with this.
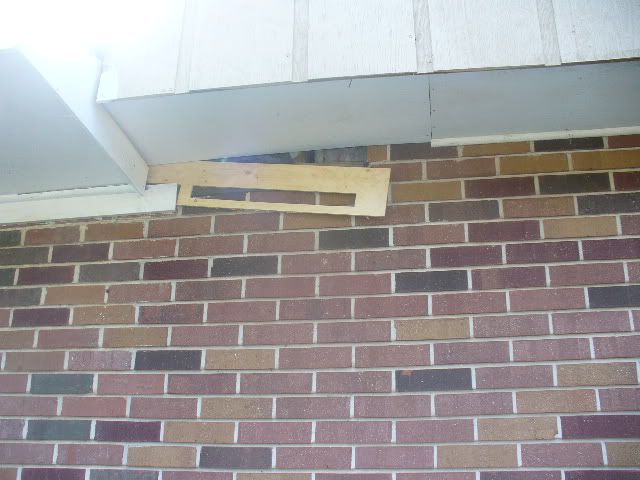
My dry fit is good. Bottom of my opening flush with the top of the brick at the entry. Width is 20" since bat number are unknown I want a large enough entry to get them out without a back up.
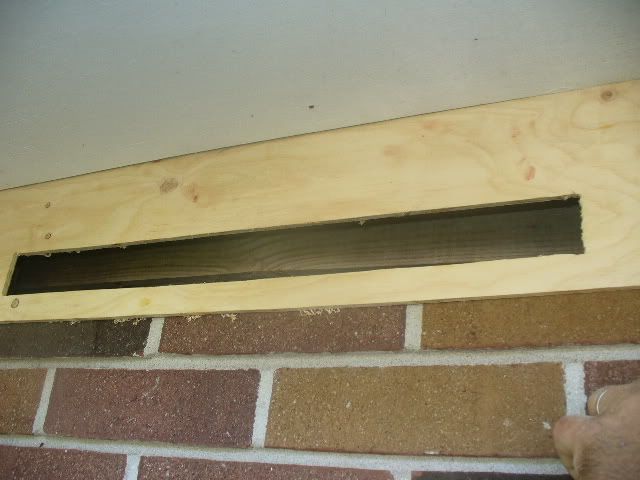
Back to the tailgate and add a furring strip to the top for attachment to the soffit.
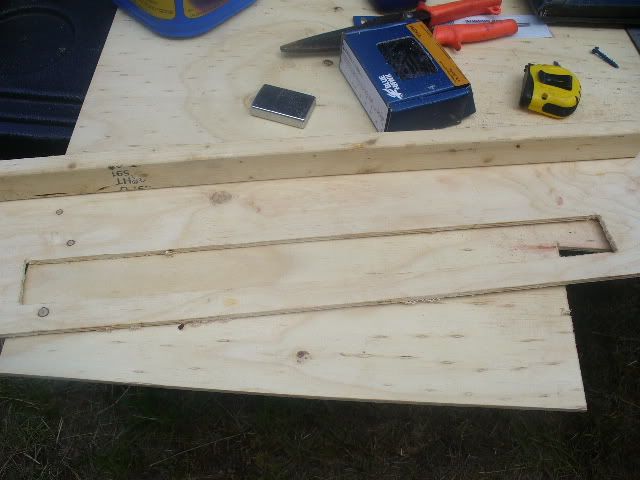
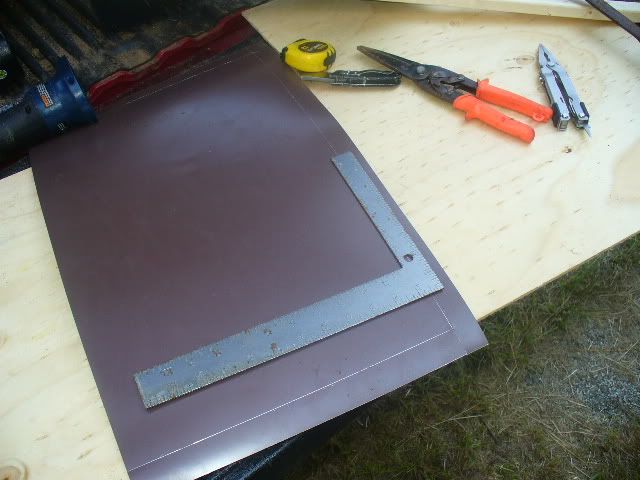
Now on to the metal. I cut a length 22 1/4" because the height of the opening is 1 1/8". Lines are scribed with a boxcutter for my bends. I really need a brake for this.
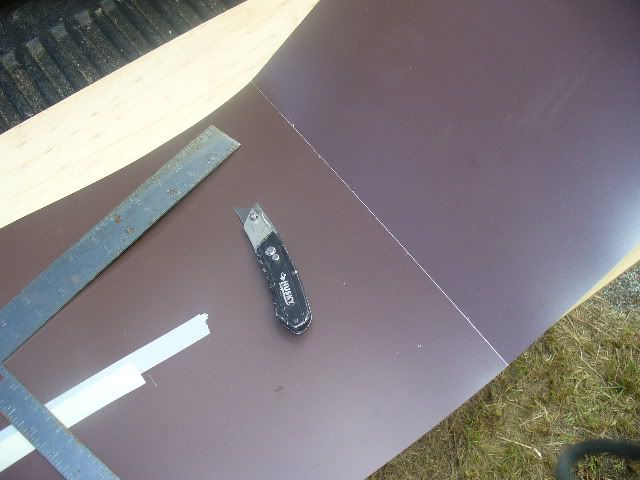
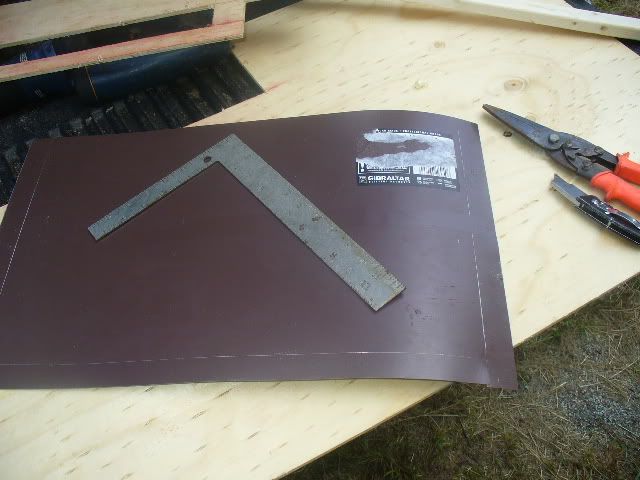
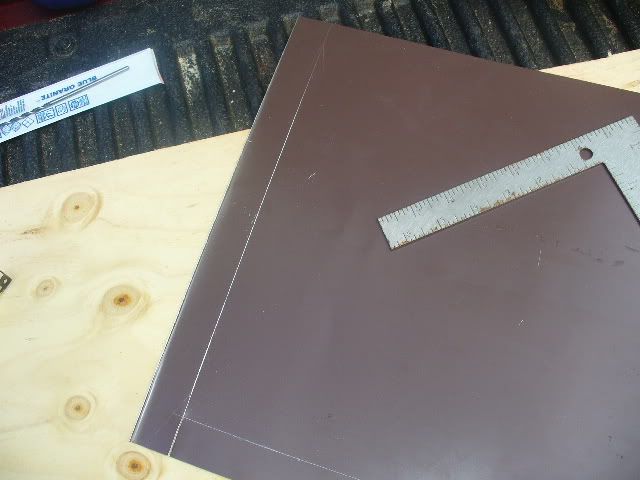
Some careful bending using my straight edges and I have the sides bent up in a U with the back flap the exact width of the opening. Inserted and bent back it gets stapled on the back side. No chance of a loose flap letting them back in, it will be sandwiched between the plywood and brick. Note the sides are long at the top end and extend back into the opening.
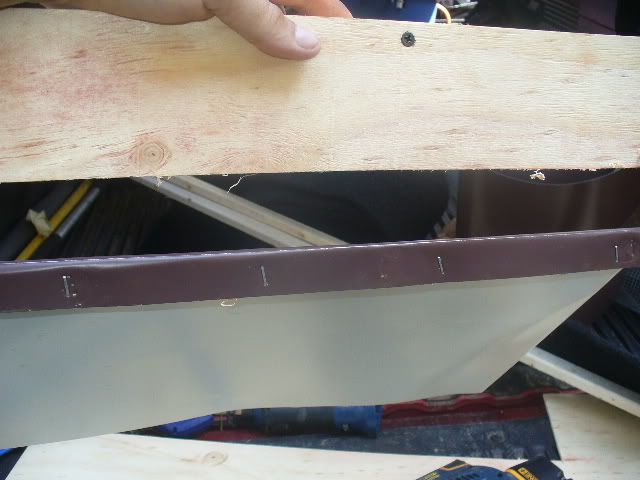
Another 22 1/4" piece for the top and bend lines scribed.
This time I leave the top flap long and the sides short. With the downward angle the bottom corner of the sides will also extend back into the opening. I staple the top flap to the outside of the plywood inside flush with top of opening and end up with this.
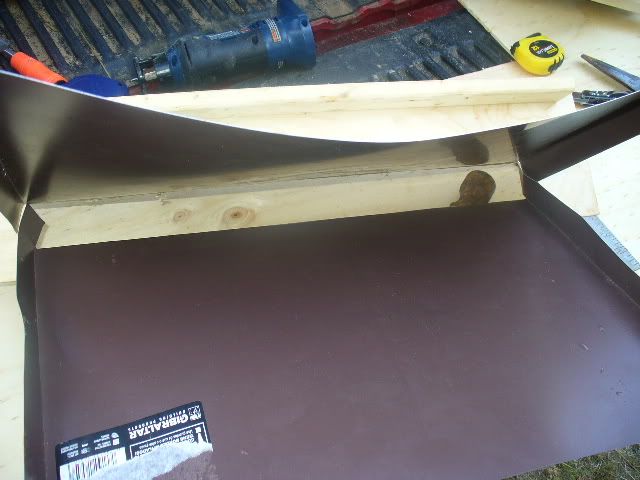
Pull top and bottom together making sure the top flaps are on the outside of the bottom flaps so that there is a smooth bottom and bottom corners inside the excluder. It's held together with duct tape, sheet metal screws could be used but tape will suffice for this one. I try to avoid sharps on the inside of valves and excluders. The two corners that extend back into the opening are folded over and tapped flat and stapled to lock the angle in. And here it is from the bats perspective.
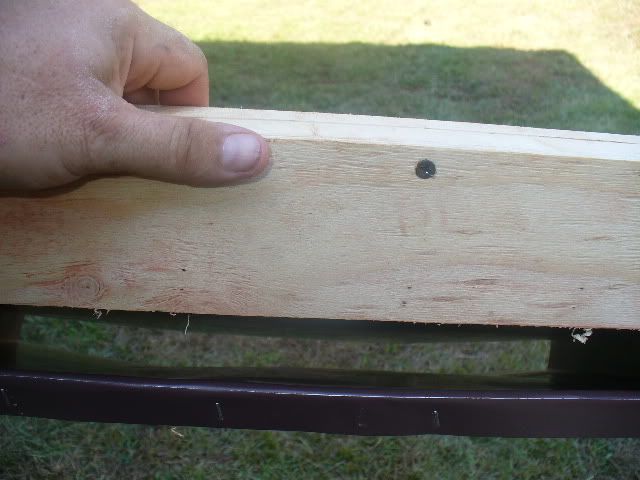
A couple sheetrock screws into the soffit and a tapcon, lower right, in the brick and done. The gap in the soffit to the left will get a piece of cobra vent and caulk to hold until the excluder comes down.
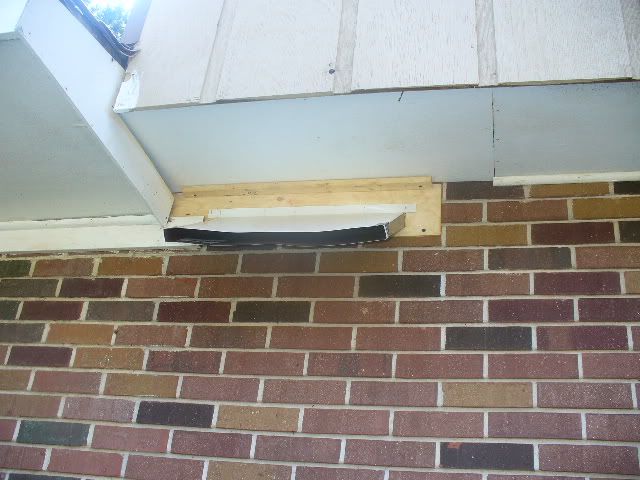
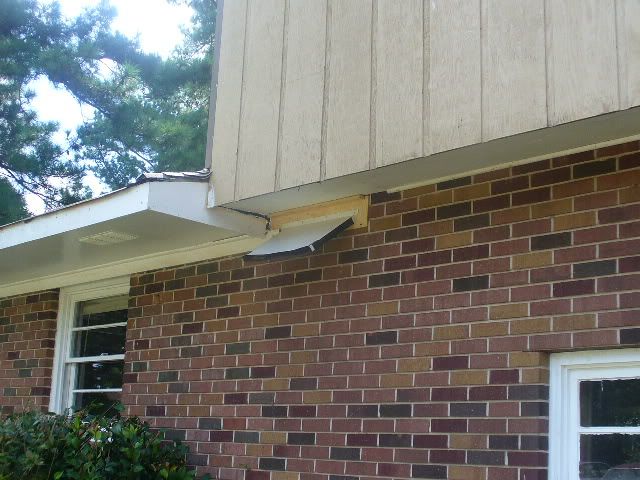
Continued......


![[Linked Image]](8a3gq5-1.jpg)
